Starting a new school year is like opening a fresh sketchbook…full of potential, creativity, and a little bit of organized chaos. To keep things running smoothly (and keep stress levels low), it's a great idea to set up your classroom in a way that inspires collaboration and keeps everyone on track. From unpacking your Yearbook Kit to turning your walls into a hub of helpful info, here's how to kick off the year right:
UNPACK YOUR YEARBOOK KIT
First things first...find your yearbook kit! It’s basically your survival pack for the year. Inside, you’ll find everything you need to create, promote, and sell your yearbook. Once you’ve got it, unpack it with your team and make sure all the goodies are accessible to everyone. That means no hiding the good stuff in your desk drawer!
Be sure to read through the TeachIt booklet and the PlanIt Guide. These are your go-to resources for understanding timelines, tasks, and tips. Trust us, they’ll save you from a lot of “Wait, what are we supposed to do next?” moments.
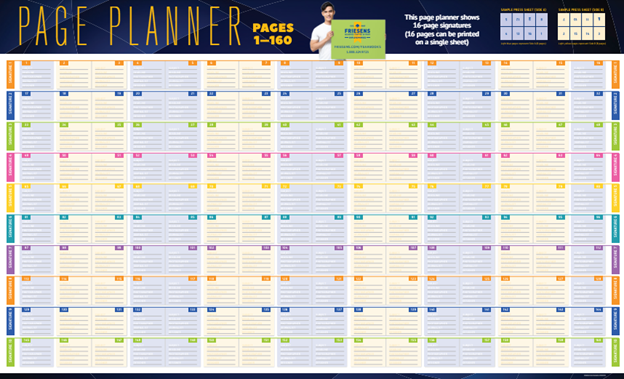
HANG YOUR PAGE PLANNER
Your Page Planner is your visual roadmap for the yearbook. Hang it up in a spot where everyone can see it. Want to level up? Laminate it so you can use dry erase markers to update it as you go. Use different colours for each deadline, like red for urgent, blue for upcoming, green for completed. If your book is over 160 pages, don’t worry...there’s a second planner in your kit!
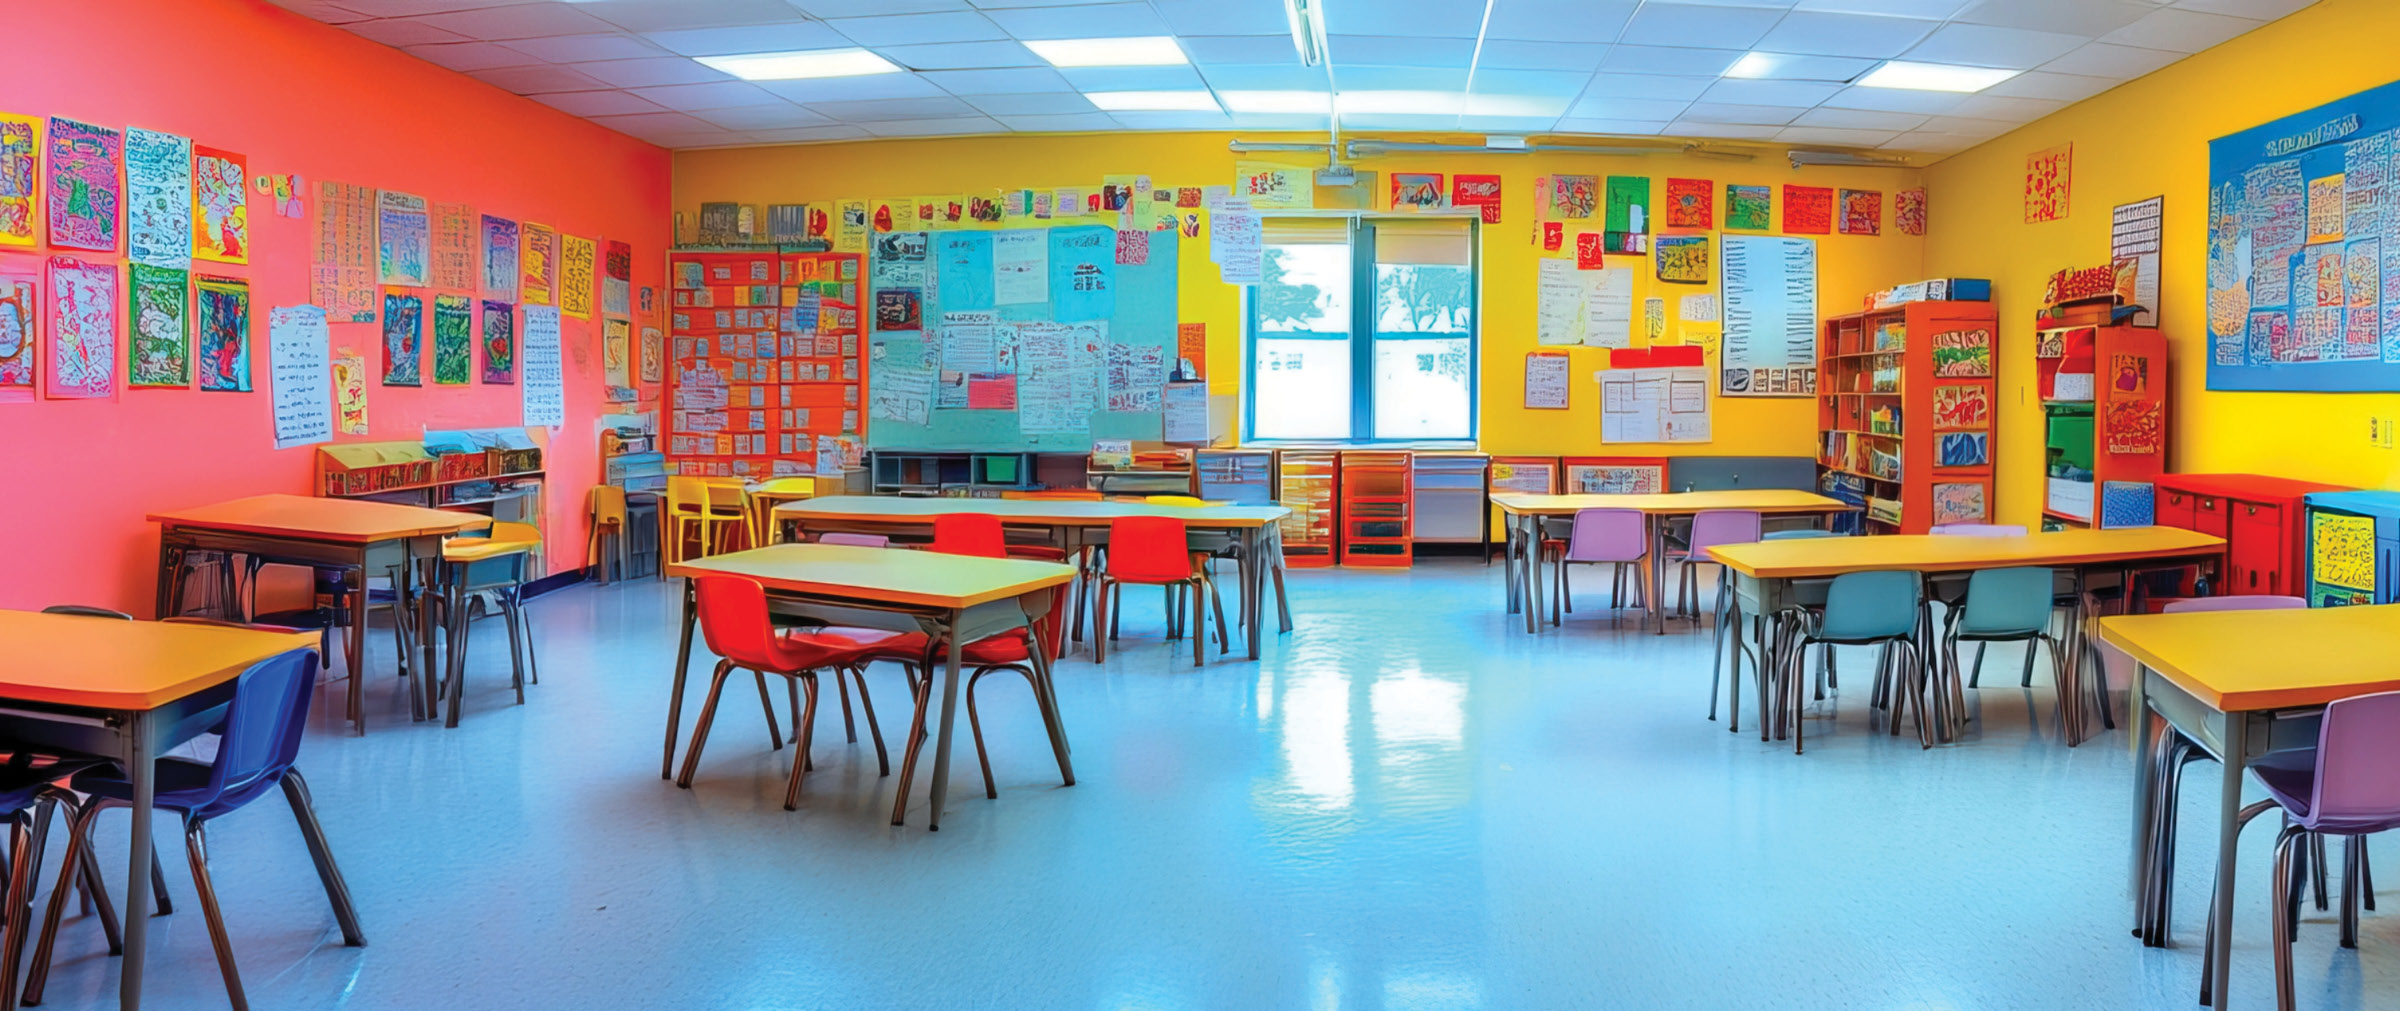
WALLPAPER YOUR WALLS WITH WISDOM
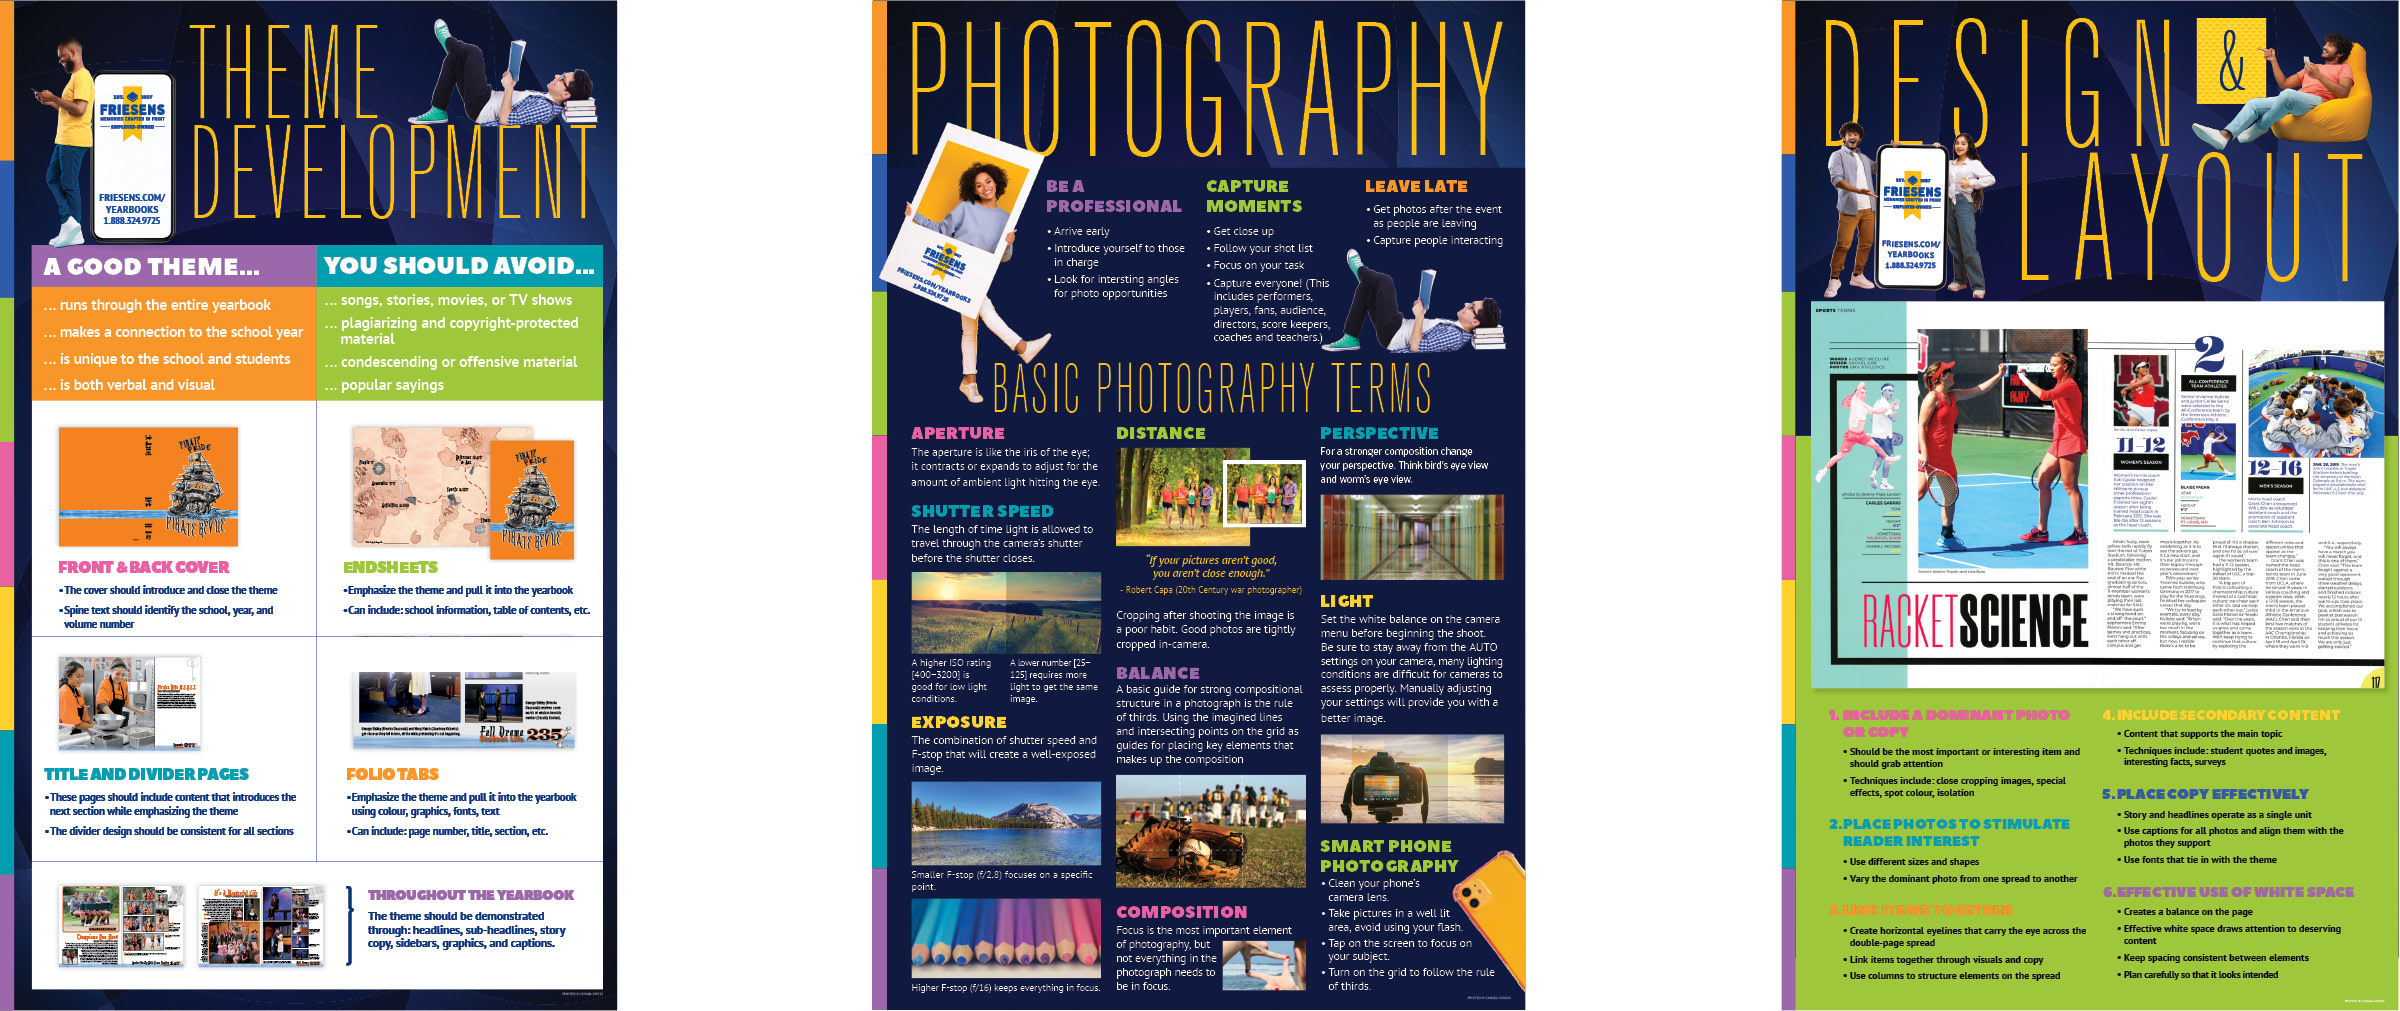
Time to decorate! Your kit includes a bunch of posters that are not just pretty, they’re super useful. Put up the planning calendar, typography tips, colour theory, photography pointers, and layout guides. These posters are great for quick reference and can spark ideas when your team hits a creative wall.
Don’t forget a technical info poster...this should include your yearbook job number, your Print Consultant’s contact info, and your Project Specialist’s phone number. Keep it visible so no one’s scrambling when it’s crunch time.
Create an assignment board with space to track who’s doing what and how it’s going. Add a poster showing where to save files and photos, the naming conventions to use, and a list of theme fonts and CMYK colour codes. This keeps everyone on the same page (pun intended).
BUILD A STAFF PHOTO BOARD
Remembering everyone’s name in a busy yearbook class can be tricky. That’s where a staff photo board comes in! Snap a quick pic of each team member and label it with their name. Then, hand out a short and fun survey with questions like:
- What’s your go-to snack during crunch time?
- If you could design any page in the yearbook, what would it be?
- What’s your hidden talent?
- Favourite font or colour combo?
Once everyone’s filled it out, post their answers next to their photo. It’s a great way to break the ice, spark conversations, and make sure no one has an excuse for forgetting someone’s name. Plus, it adds a personal touch to your classroom that makes the space feel more like a team HQ.
TRACK STUDENT COVERAGE LIKE A PRO
Print out a list of all students in the school and hang it up. Leave space beside each name to mark the pages they appear on. Once a student hits three pages, you’re good, no need to include them again. This helps make sure everyone gets their moment to shine and keeps your book balanced.
MAKE IT YOURS
This is your space, your team, and your yearbook. Add your own flair...string lights, motivational quotes, memes, whatever makes your classroom feel like a creative hub. The more fun and functional it is, the more your team will love being there.