- 5 Minutes to read
- DarkLight
Go Above and Beyond With Your Photos
- 5 Minutes to read
- DarkLight
There are a lot of different styles of phography you can try to add a dynamic and authentic touch to your yearbook. Try some, or all, for a unique twist on the standard head and shoulders shot!
Environmental Photography
Many of the best portraits do more than showcase an individual...they tell a story or offer insight into who that person is. That's where environmental portraits excel.
An environmental portrait is a portrait executed in the subject's usual environment, such as their home or workplace, and includes more than just the subject. The idea is to capture the subject within a broader context. This isn't your typical everyday headshot...instead of just a face, you have a person in a place. Environmental portraiture isn't always posed, but always involves awareness from your subject. In other words, your subject knows they are being photographed.
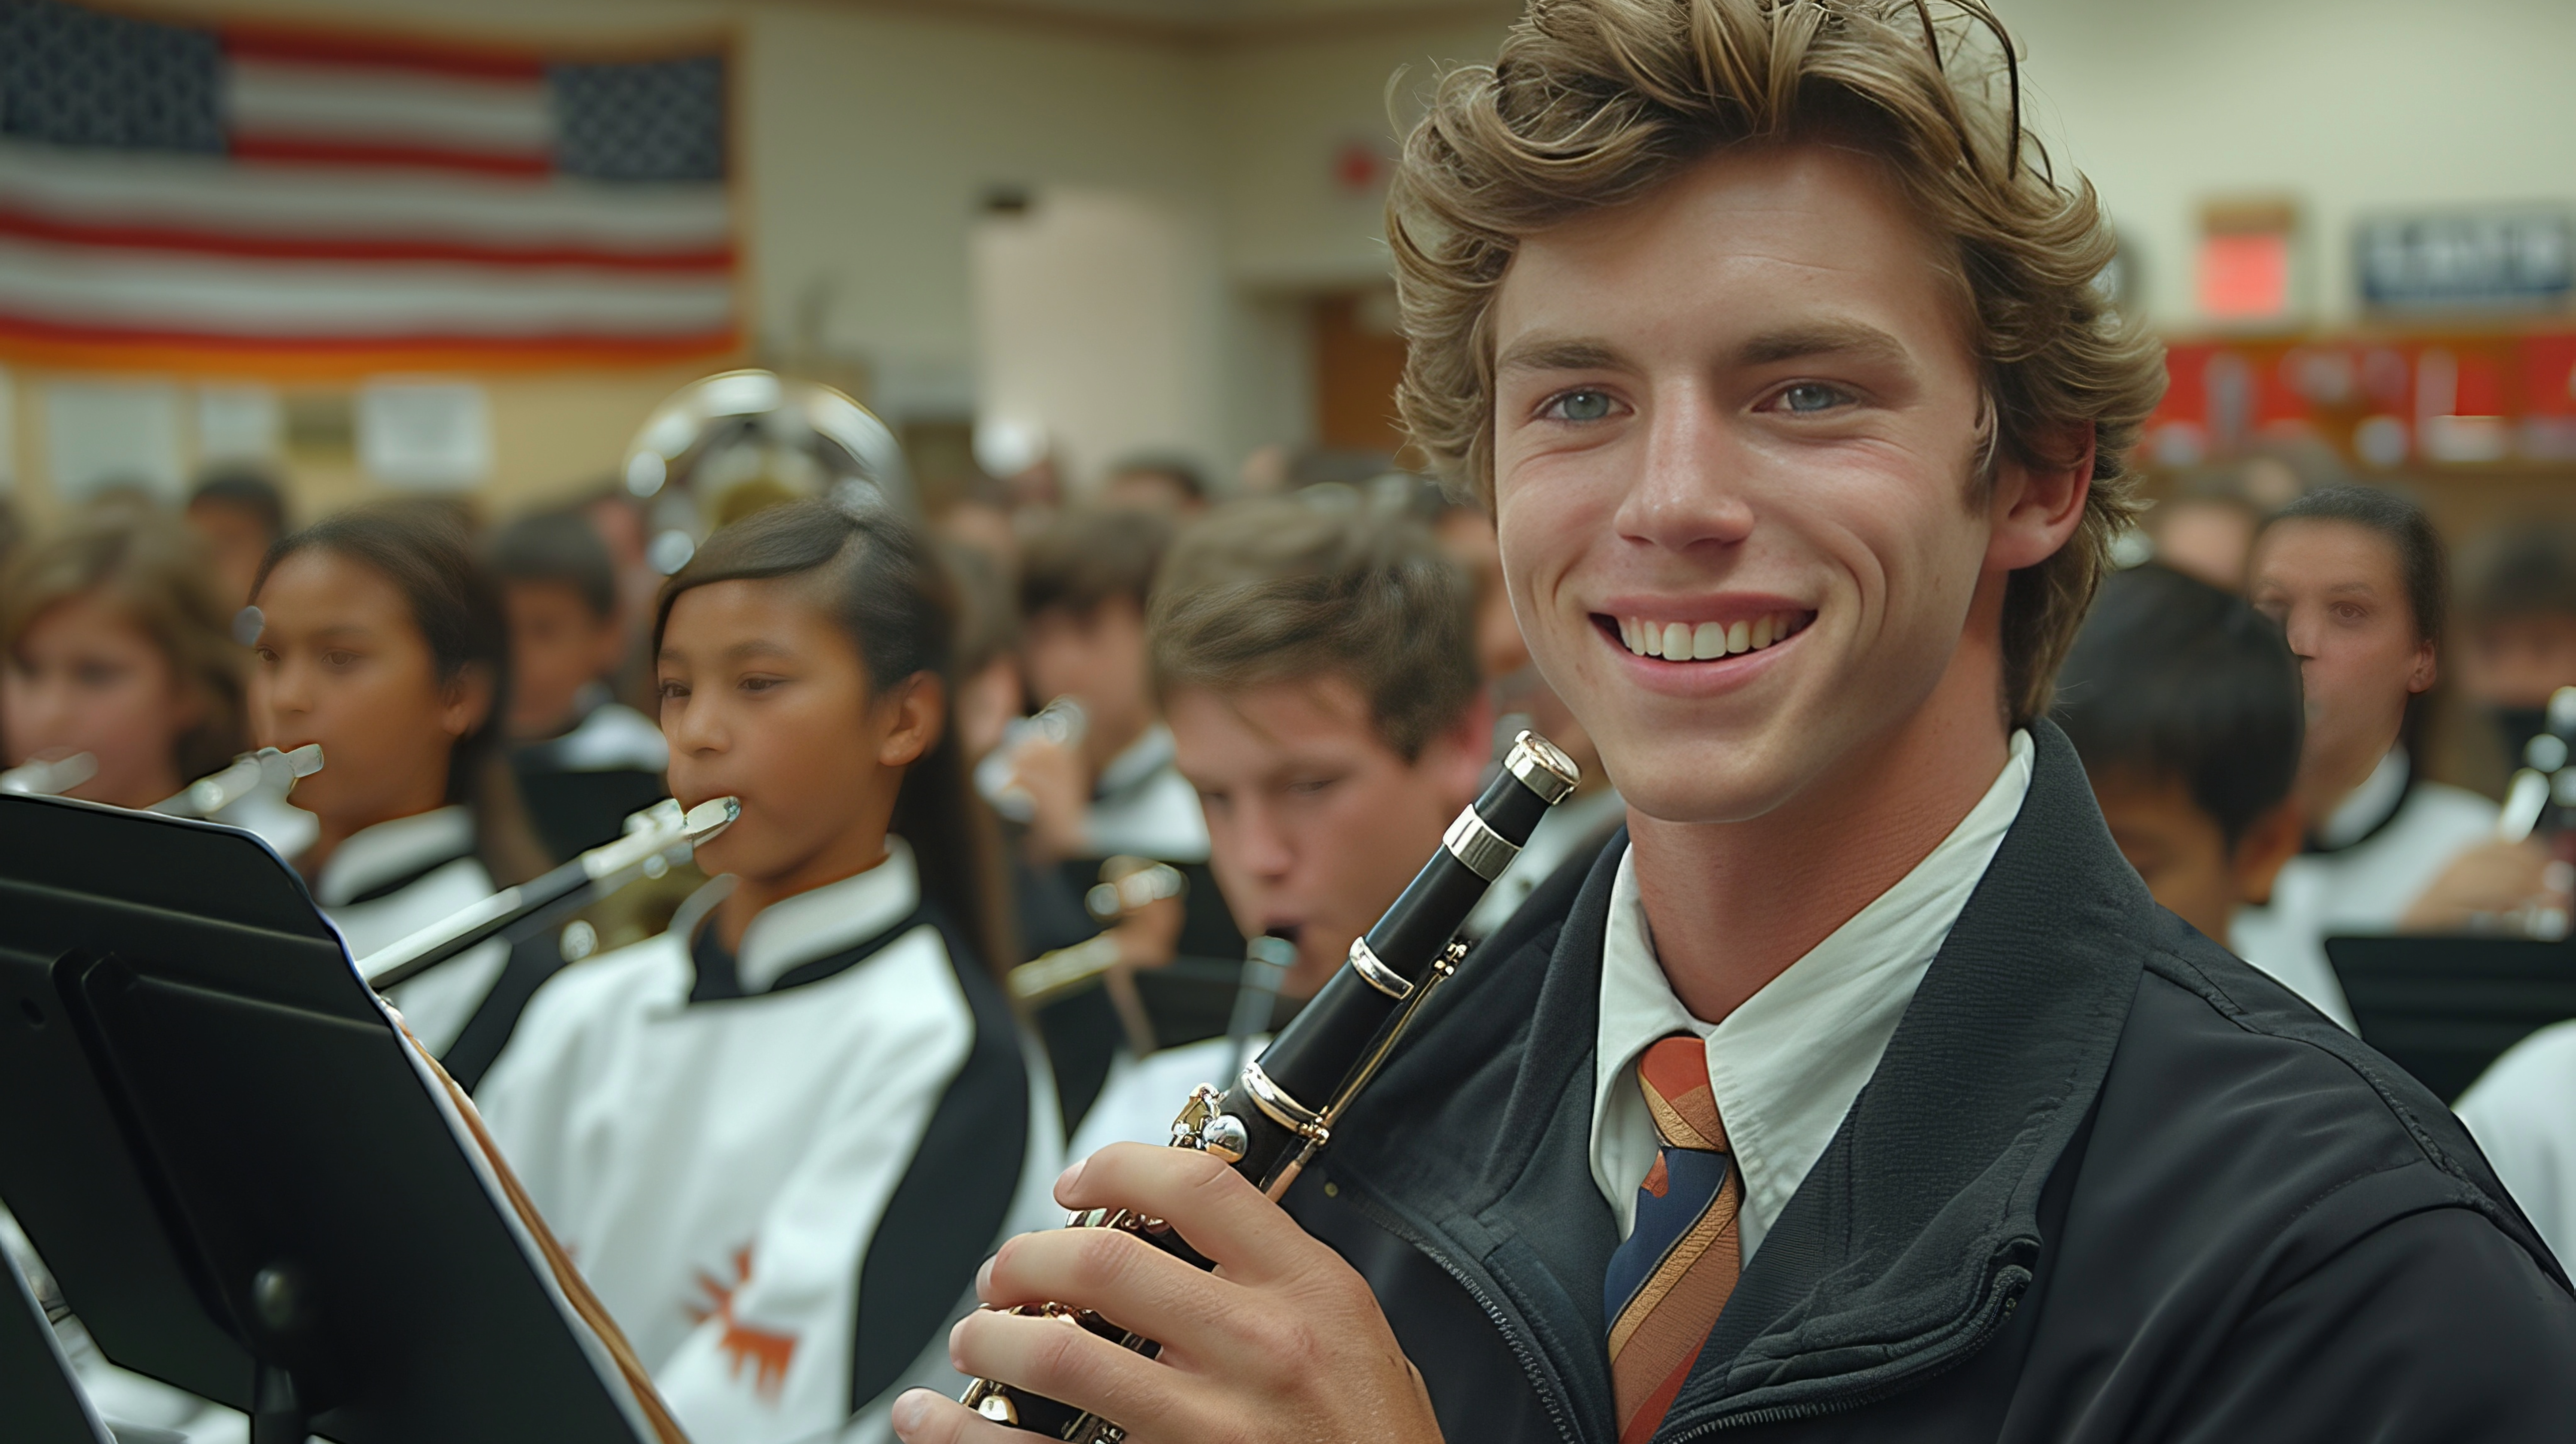
Integrating environmental portraiture into a school yearbook can add depth and context to the book, making it more engaging. For example, you can photograph the quarterback of the football team on the field with a crowd cheering behind him, or the lunch lady in the kitchen in the middle of a lunch rush. The important thing to remember is to show elements of the environment that reveal something about the subject's personality, interests, or role.

Street Photography
Street photography captures people involved in their daily lives, or inanimate objects or buildings, sometimes (but not always) in a city or street setting (in the context of a school yearbook, street photography can be captured on the school bus or in the hallways). It's similar to environmental portraiture, but often the subjects don't know they're being photographed. This style of photography offers lots of opportunities to practice creativity, as well as a chance to document the lives of people and their surroundings.
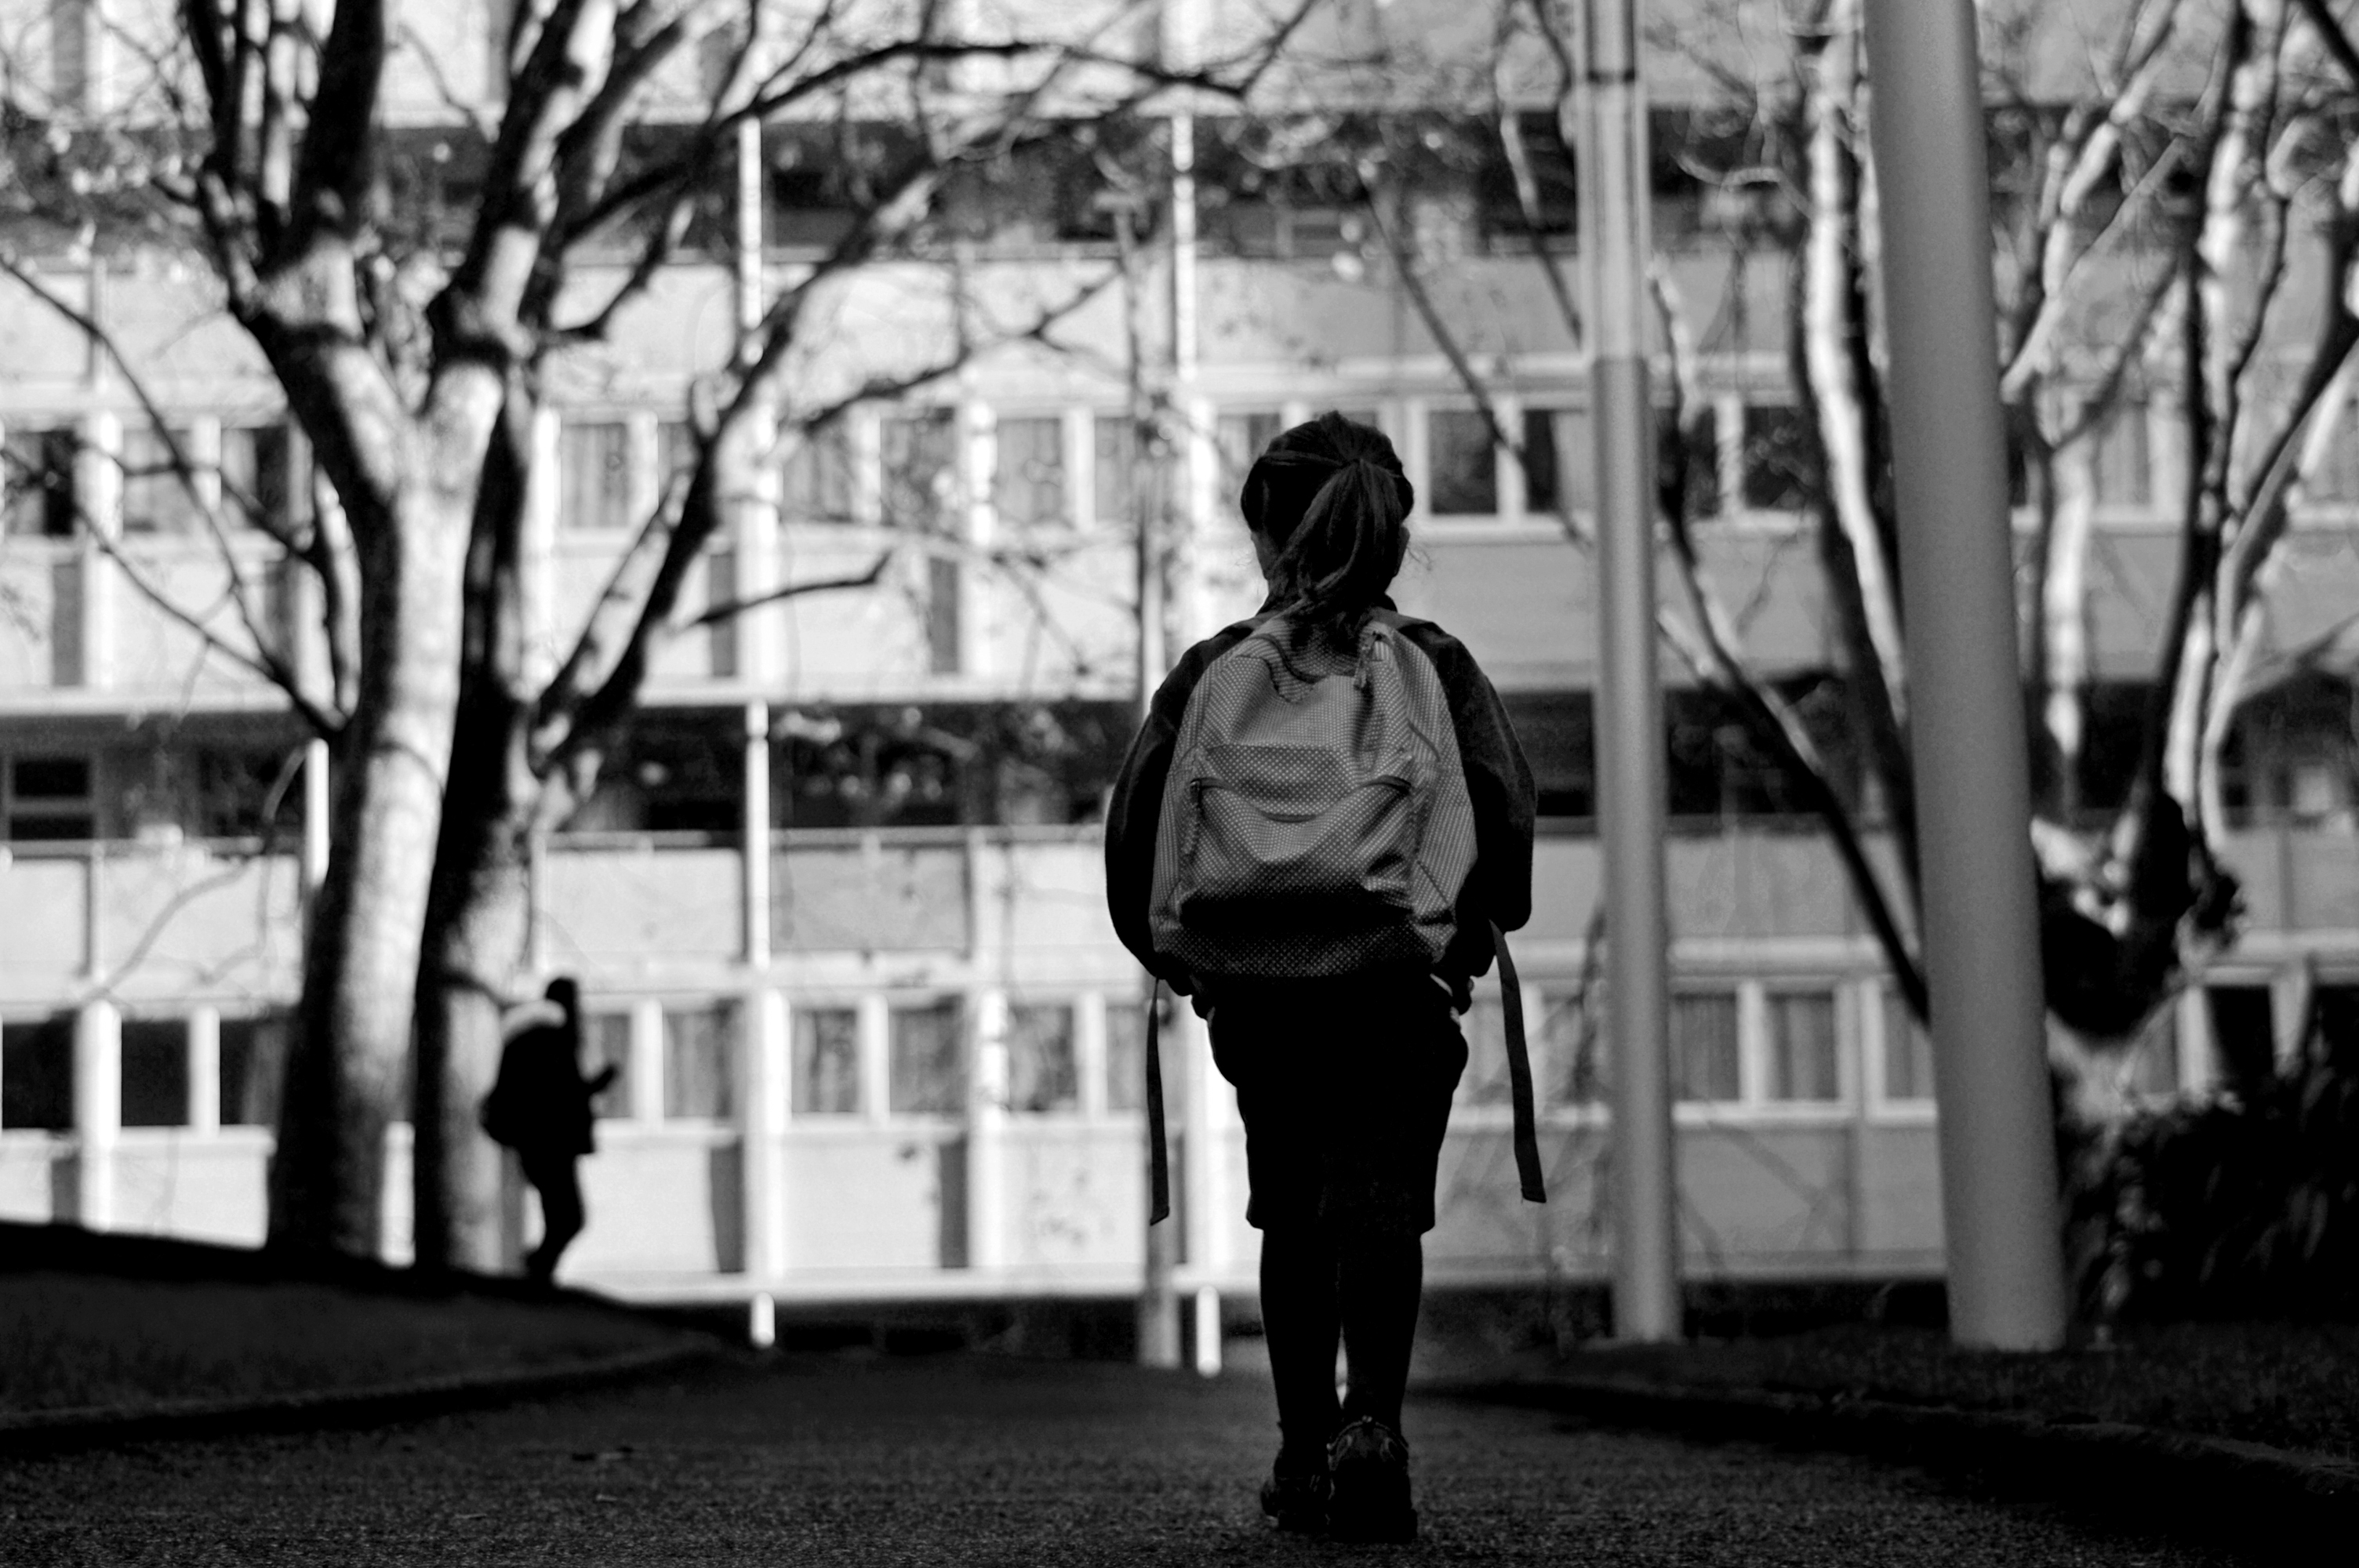
Street photography requires patience, persistence, and luck; you need quick reflexes and react intuitively as you would shooting sports, and you also need to thoughtfully and creatively compose a compelling shot.
Something to remember is that street photos don't necessarily require people to be in the shot...they can also take the angle of suggesting that someone was there. Think a discarded pom pom on the ground after the home team lost the state champion. Shadows can also be used to capture thought-provoking shots, even if you can't see the people casting them.
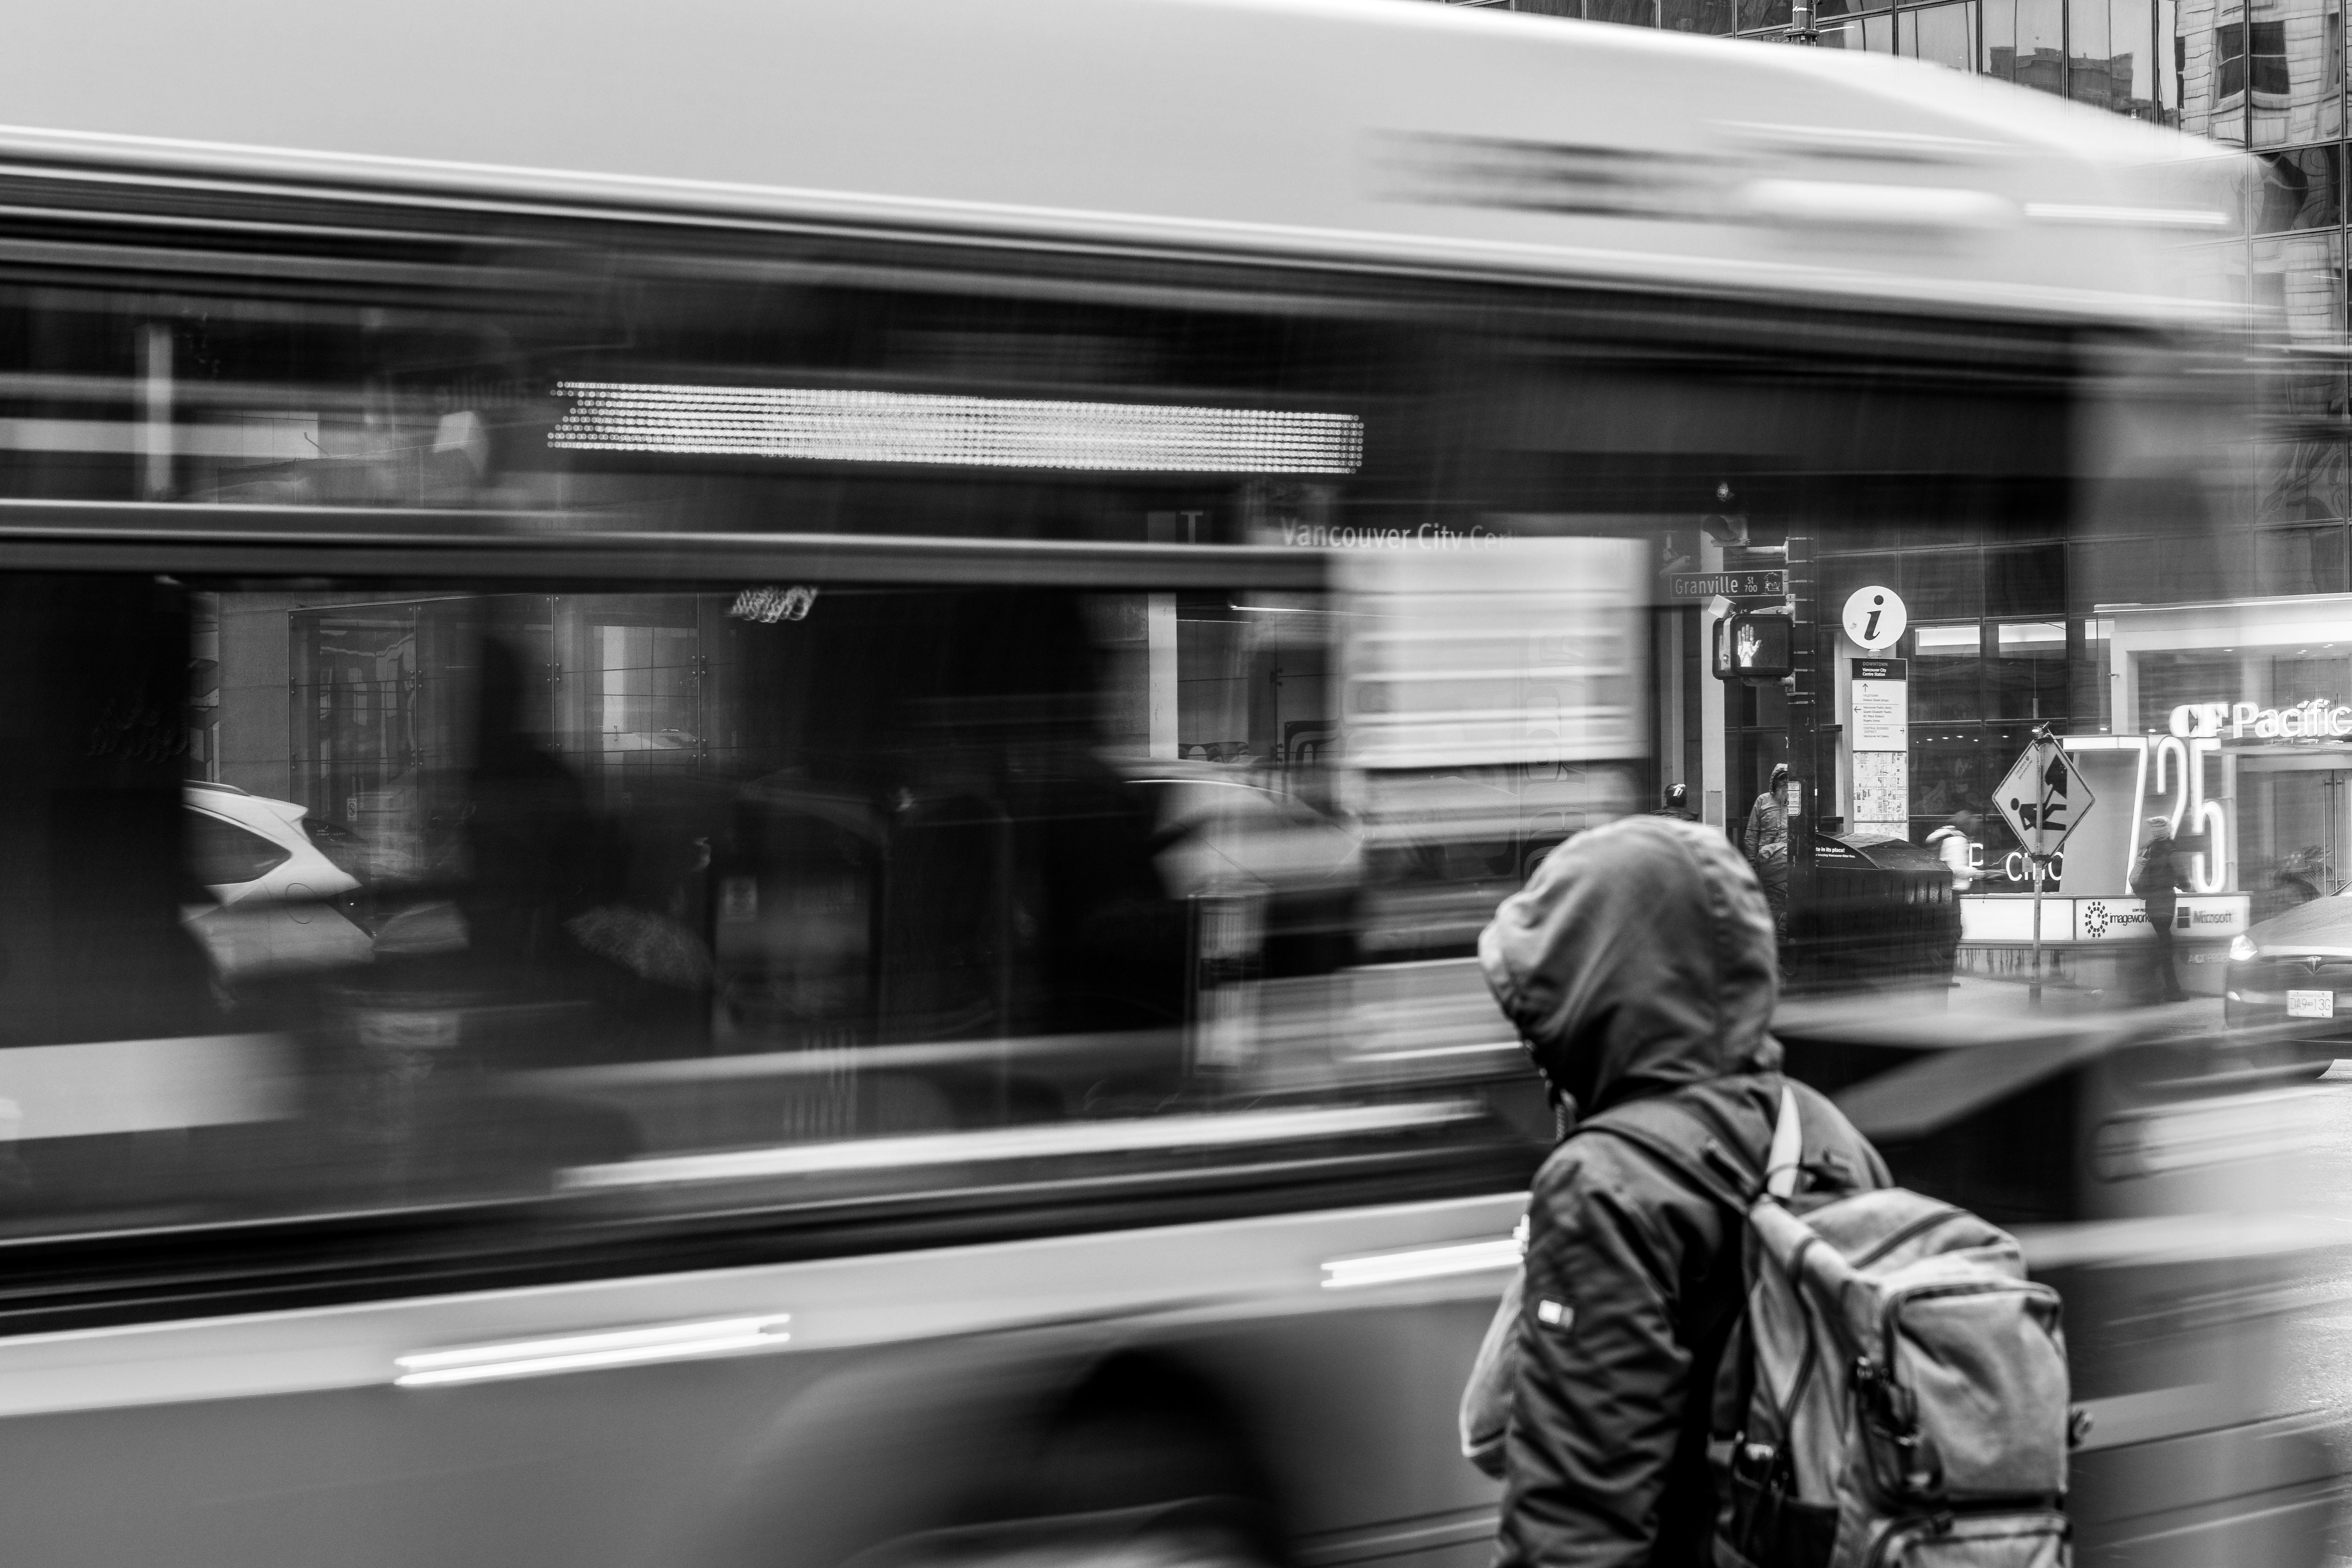
There's a certain code of conduct to keep in mind with street photography, with the most important being that respect goes a long way in street photography. If someone doesn't want their picture taken, apologize and then find another subject. A smile can also work wonders...if you take a picture and your subject notices you, smile and nod a thank you. Most times your subject will smile back, and you both go on your merry way.
Forced Perspective Photography
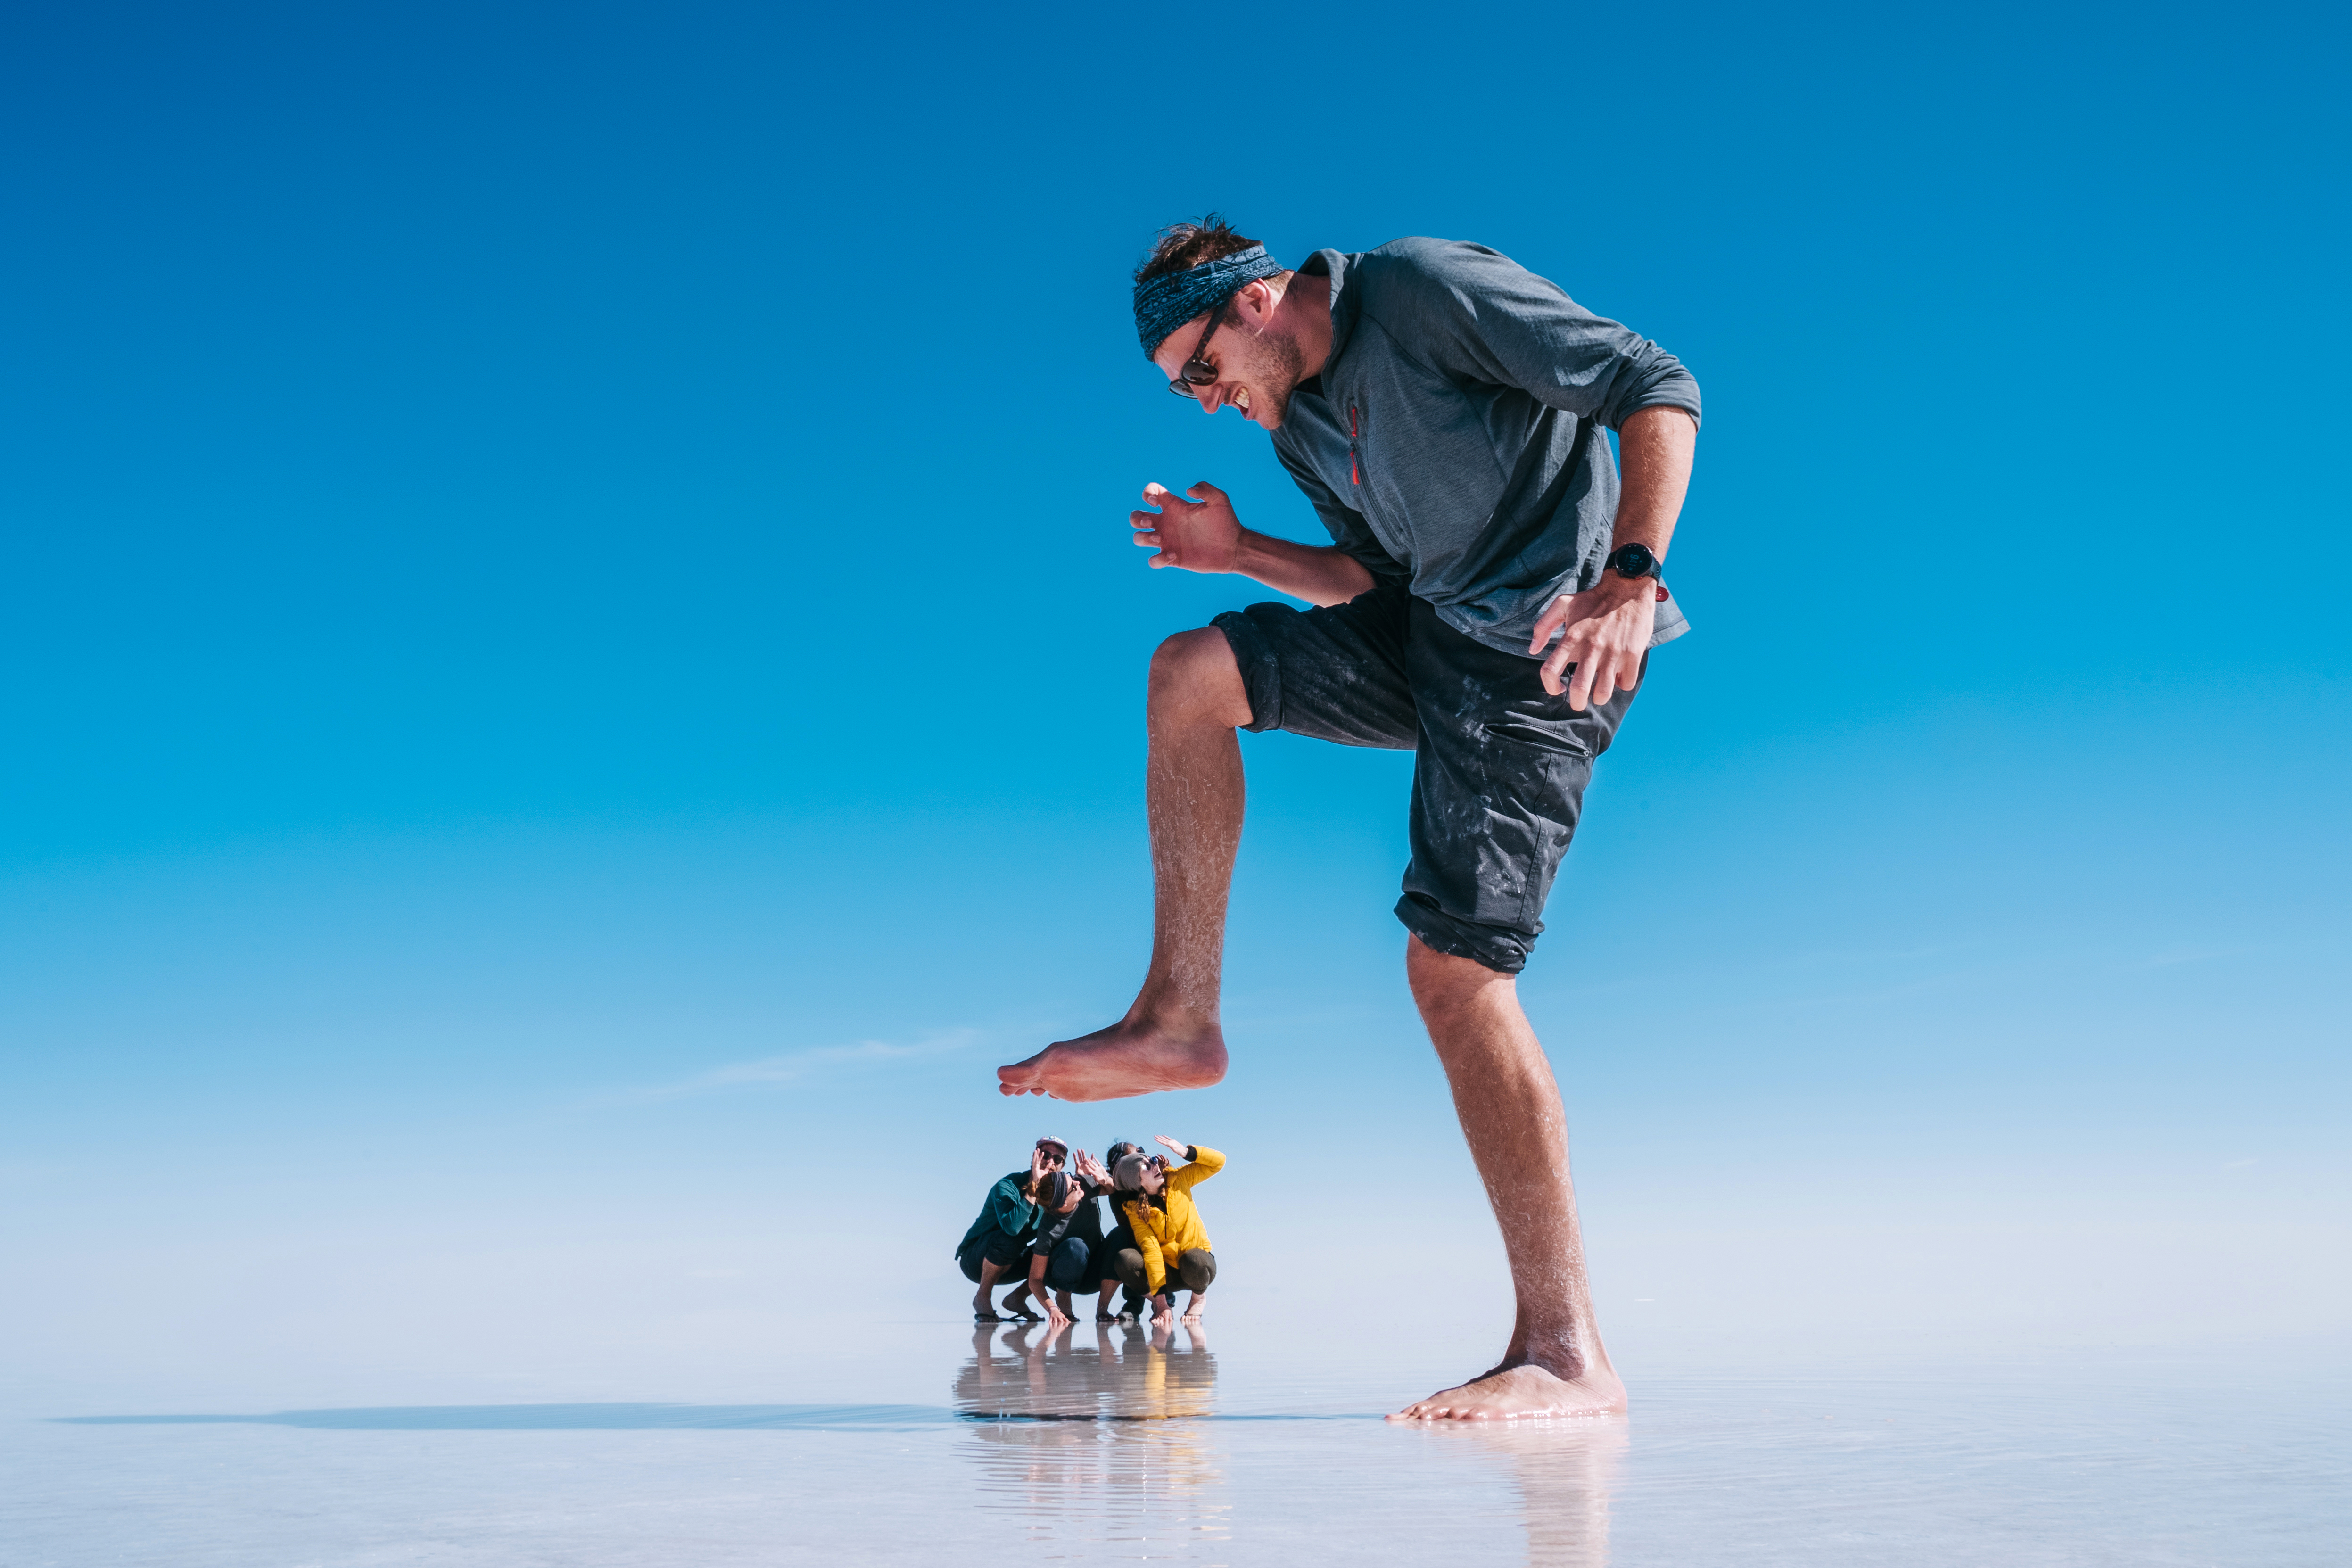
This is a style of photography that plays with optical illusions to make objects appear larger, smaller, farther, or closer than they really are. It takes into account depth perception and normal perspective and challenges the viewer's sense of size, position, scale and proportion. If you've seen a picture of someone supporting the Leaning Tower of Pisa, you've seen forced perspective.
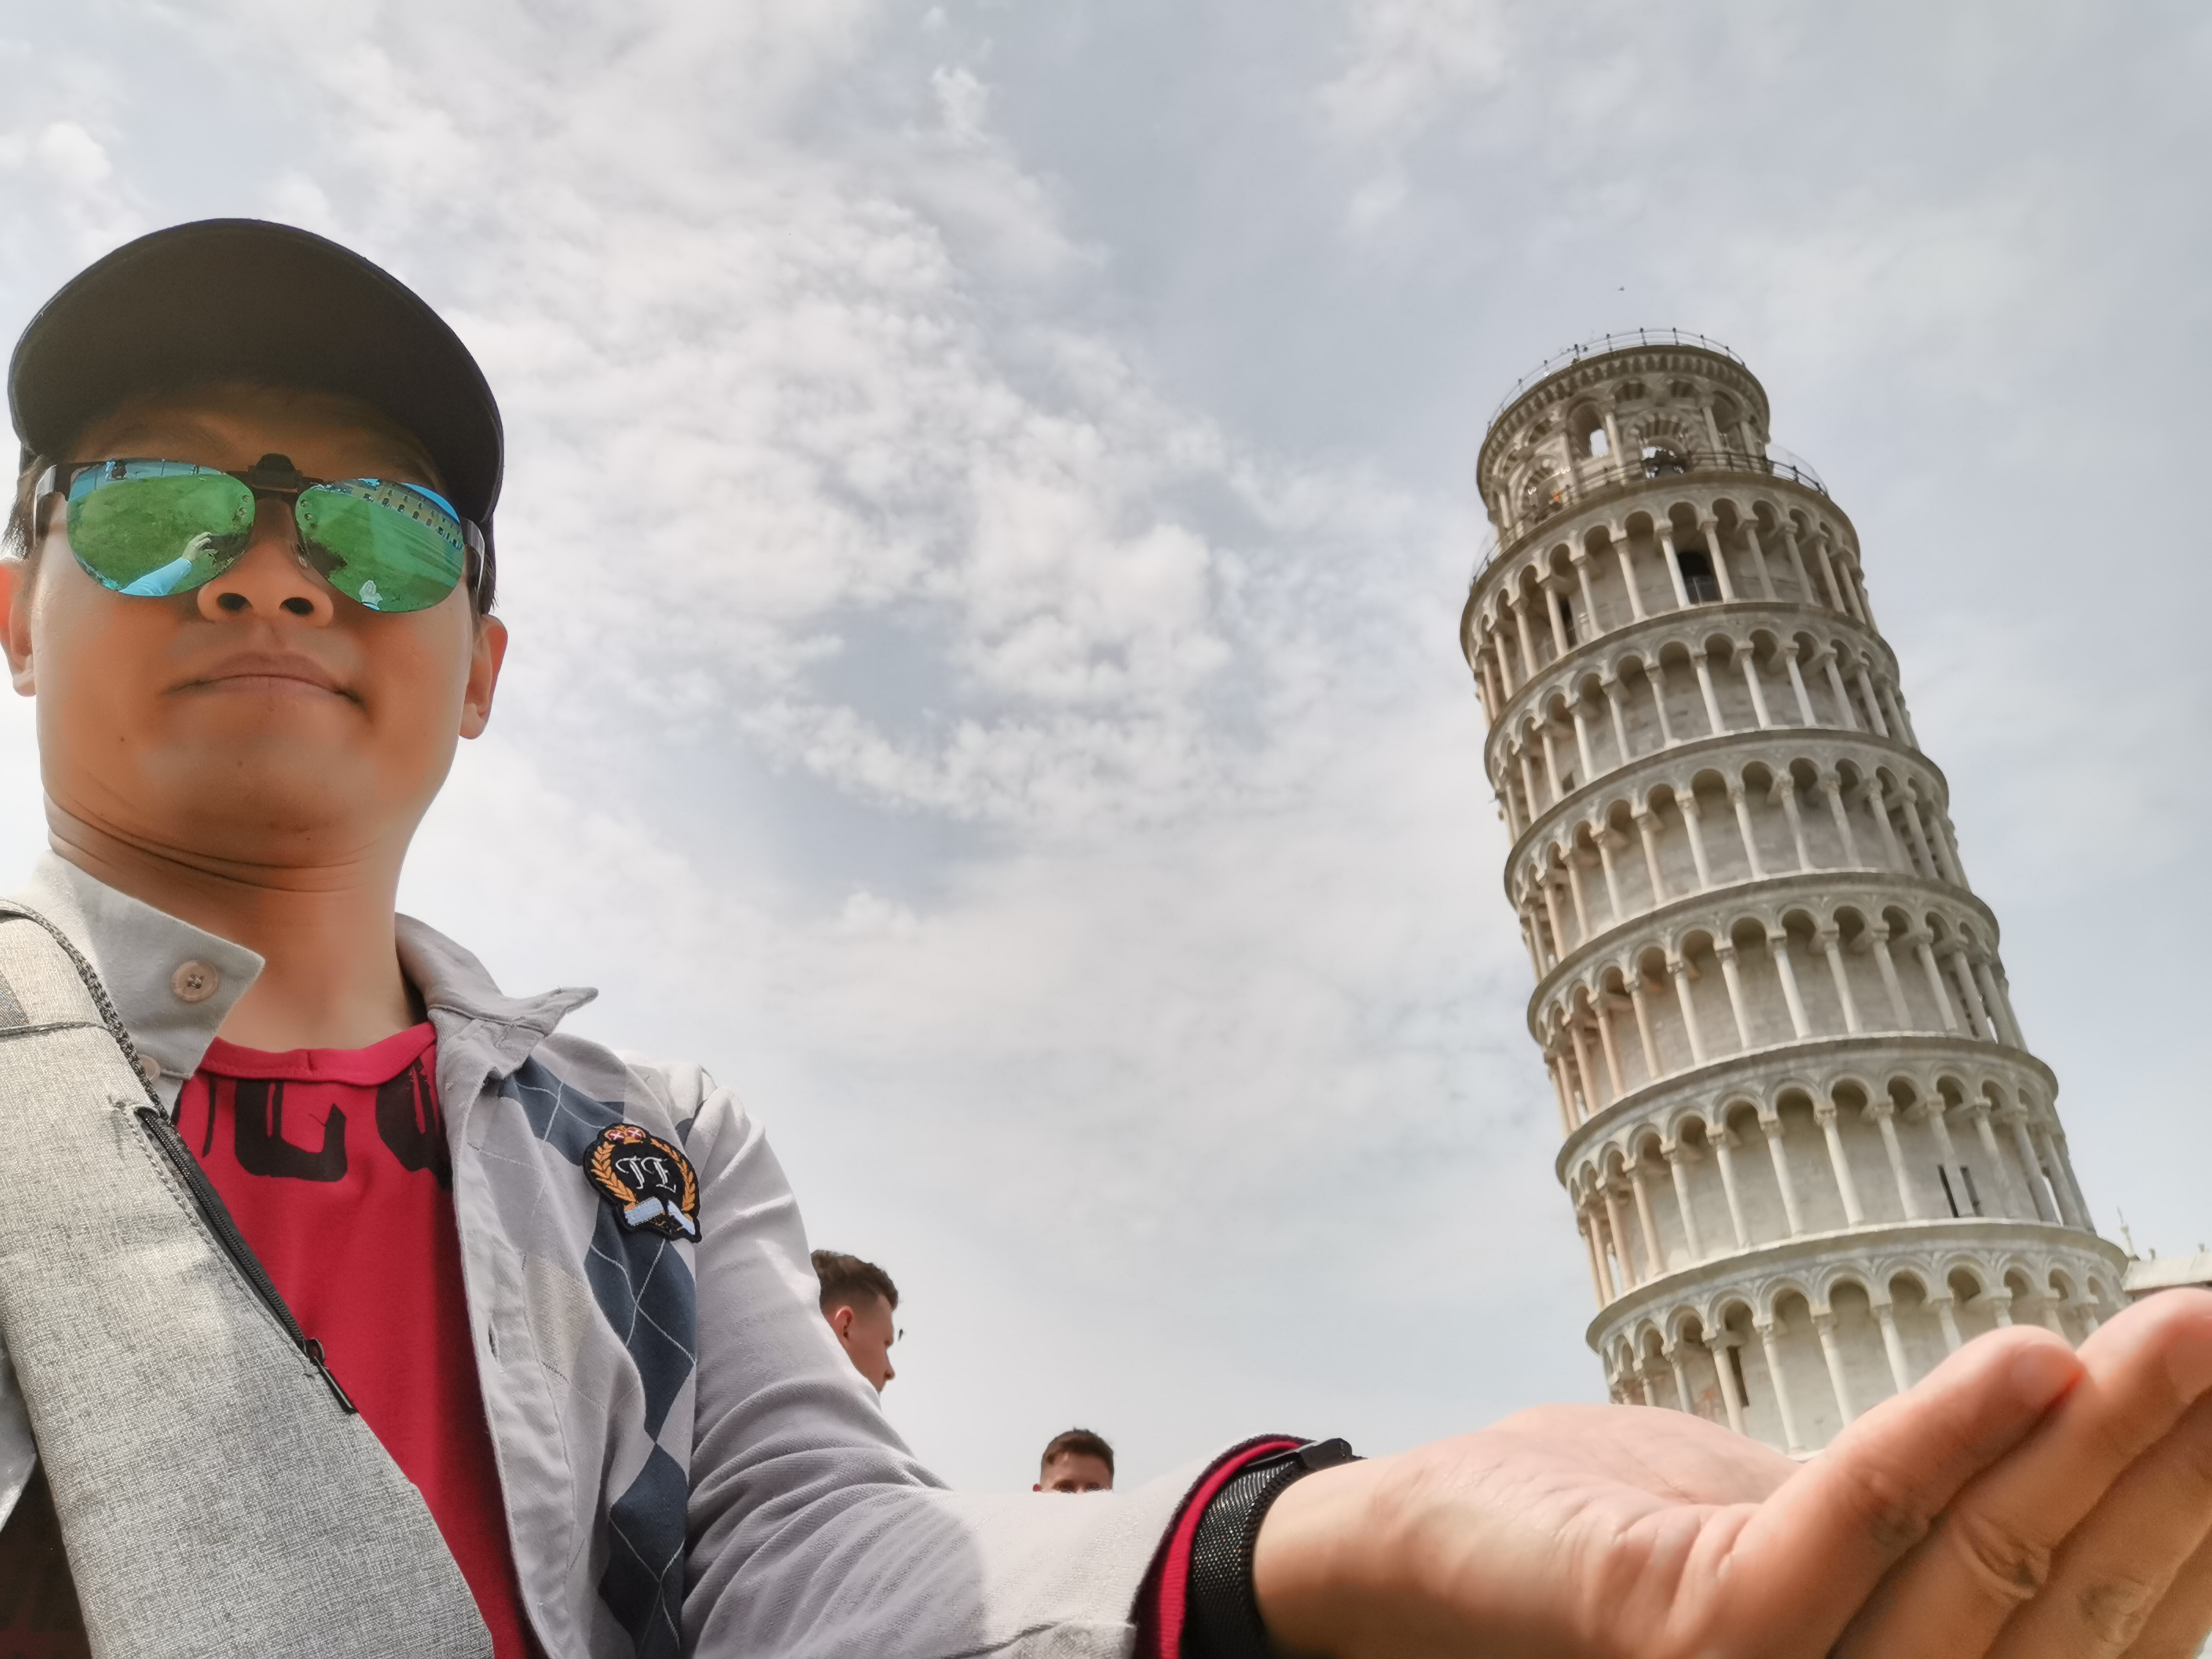
Taking forced perspective photos can be a lot of fun, challenging you to think critically and creatively about camera angles, subject placement, and more. A few things to help you out:
- Bring a friend along for a second set of eyes. You might need a model or someone to give you a different perspective.
- Play with scale. Move large objects into the background and smaller ones into the foreground to experiment with size and scale. This will help minimize the different sizes between subjects, allowing you to create fun optical illusions.
- Shooting from an unexpected angle helps force a new kind of perspective. Shoot from a low angle to exaggerate your foreground or shoot from an aerial view to give the image a 2D feel.
- Using props and cutouts makes the image more interesting. Scale can be easily distorted by adjusting the position of different elements, moving between the foreground and the background.
- Don't be afraid to experiment!
Pinhole Photography
Pinhole photography is a stripped-down version of photography. Instead of an actual camera, pinhole photography makes use of light-sensitive paper inside a tightly sealed box and a pinhole to capture light and create images. We don't recommend you use this style for every photo in your yearbook, but if you're looking for some unique, vintage, raw looking images this could do the trick.
Essentially, light passes through the tiny hole in the box and projects an inverted image on the paper inside the box. Since very little light goes through the hole, exposure time often takes longer. As a result, pinhole photos can be blurry with noticeable vignettes (darker shadows around the edges of the image).
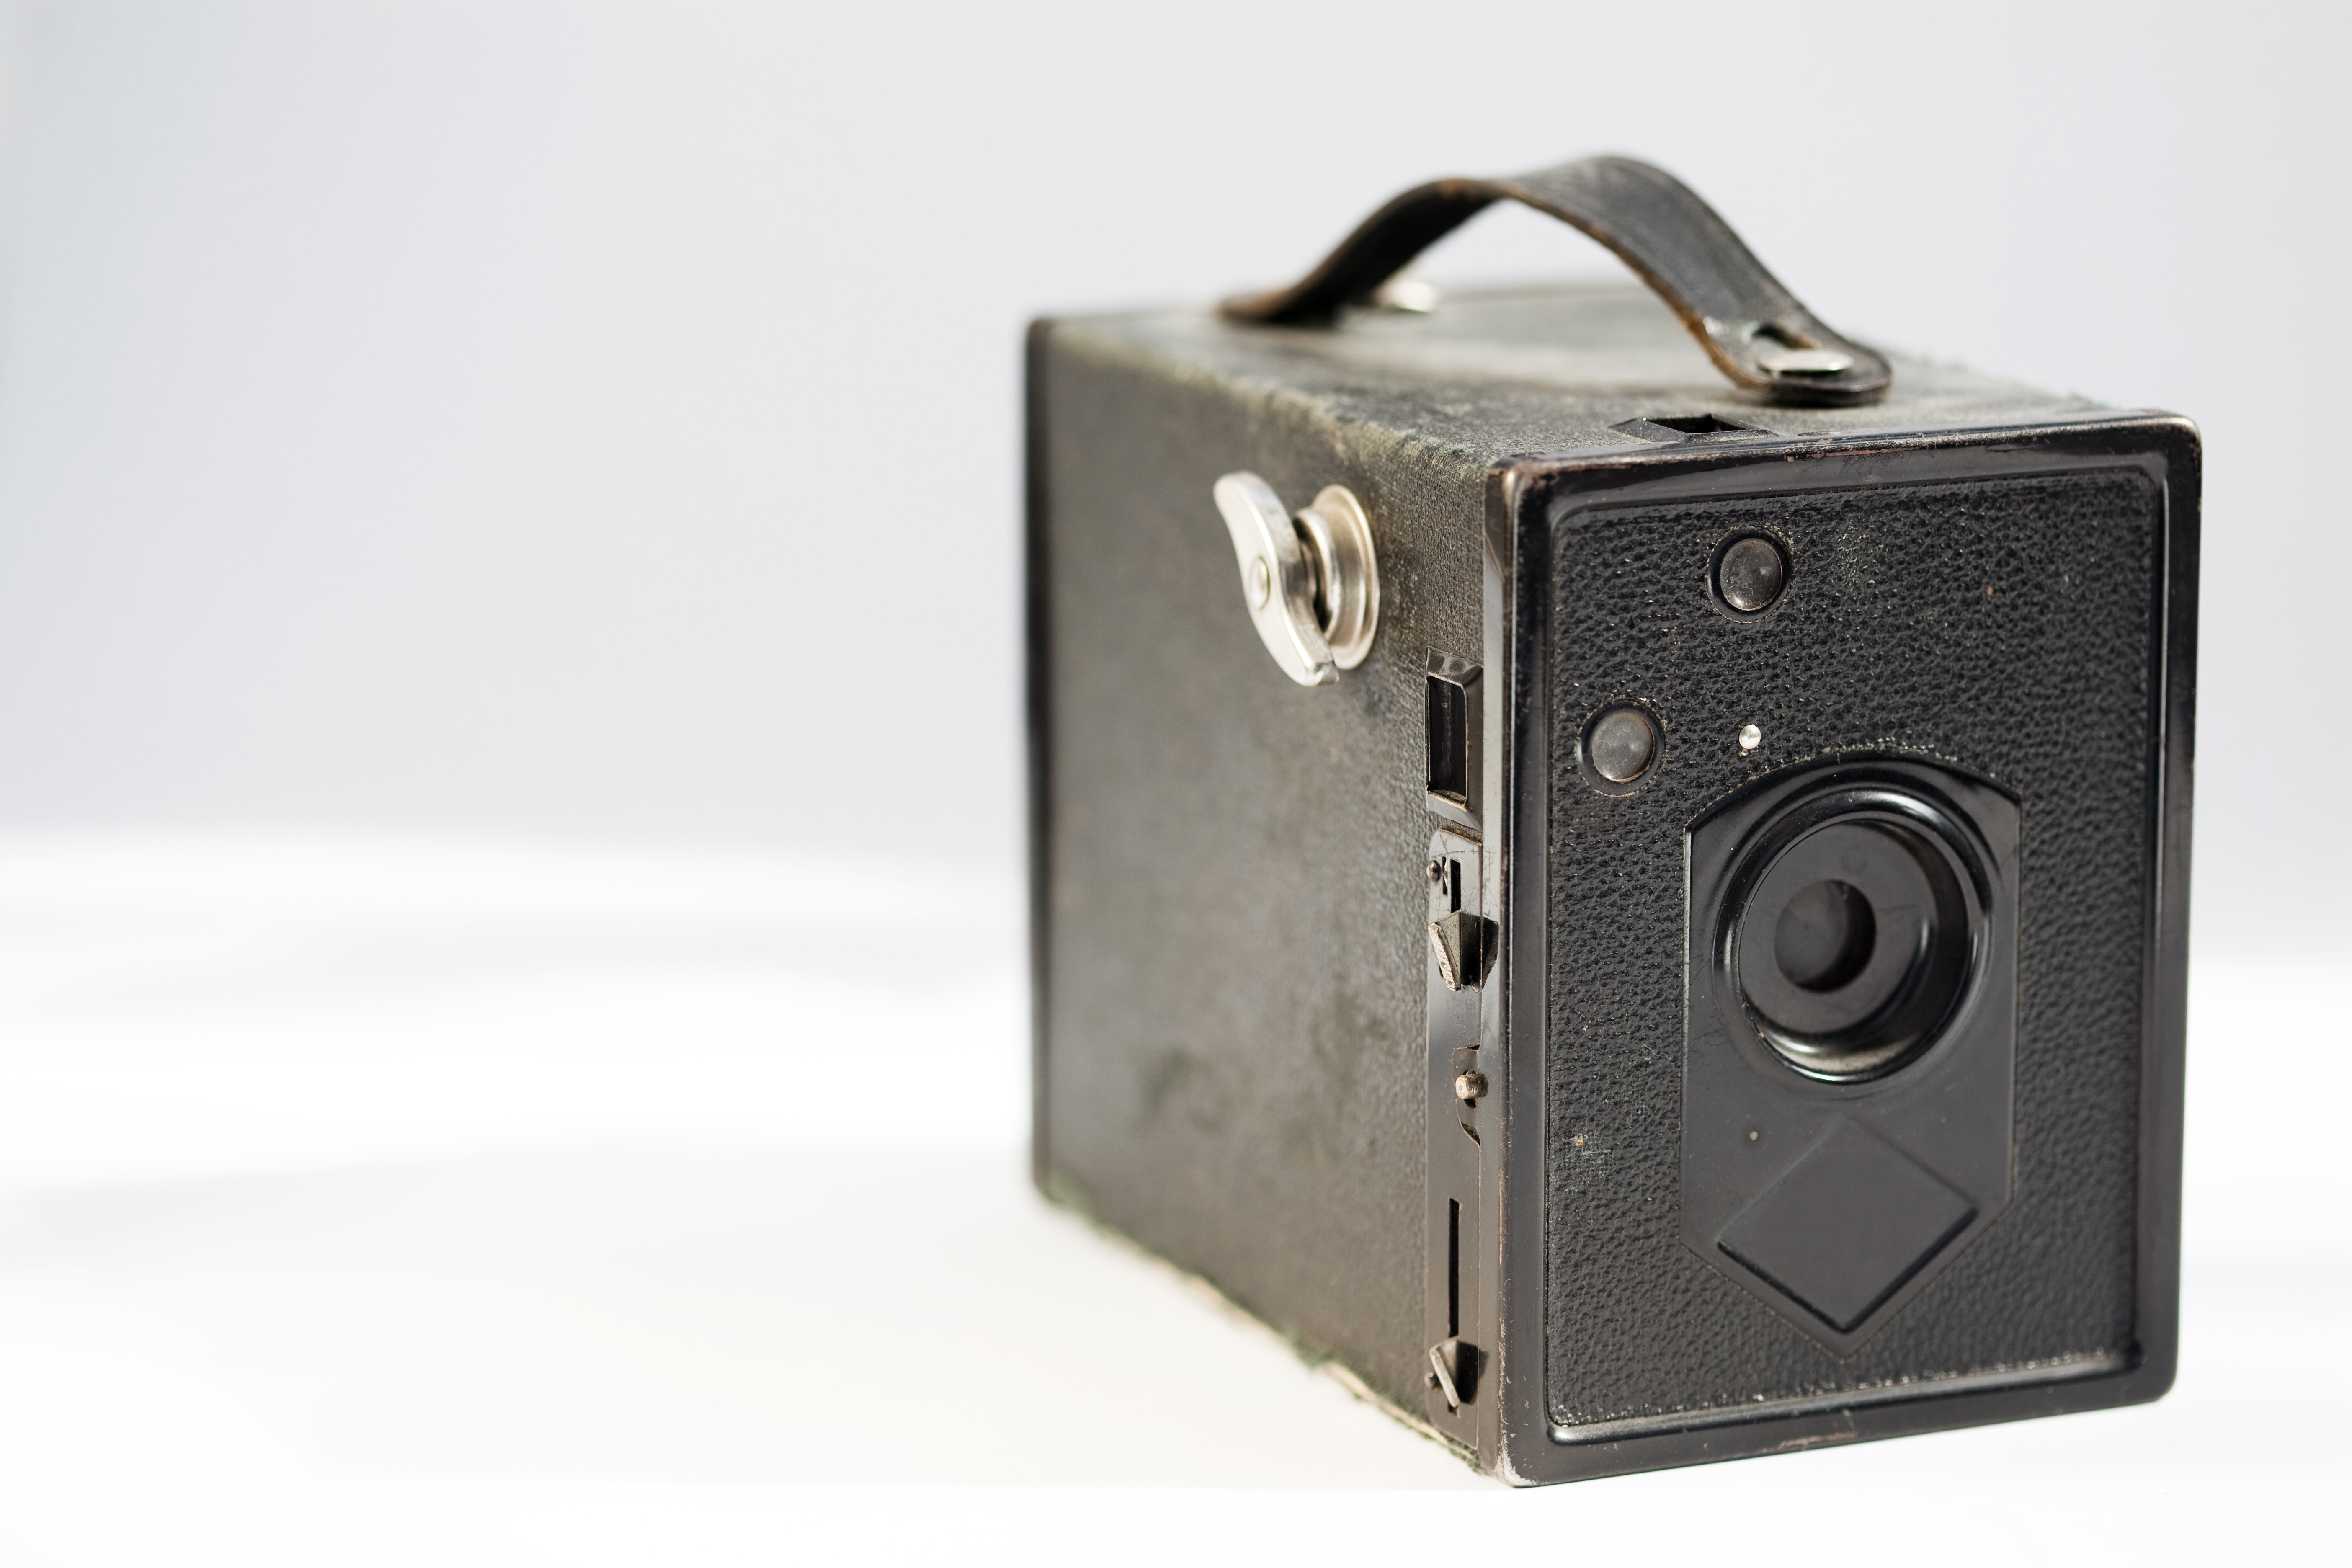
There's a lot of instruction online to make your own pinhole cameras and what you can use to capture the image with each of them.
Kinetic Photography
Kinetic photography is an experimental photography method in which the person taking the photograph uses movement combined with physics to make the photo (but don't worry, you don't need to have taken a physics class for this). Typically, the artist doesn't hold the camera, but allows the camera to react with gravity and physical forces to make the photo.
While there are no precise rules for kinetic photography, people creating these types of images often will shake the camera, throw it in the air, or spin the camera while taking the photo. Since movement is essential to making this work, often the photos come out looking abstract, blurred, and random.
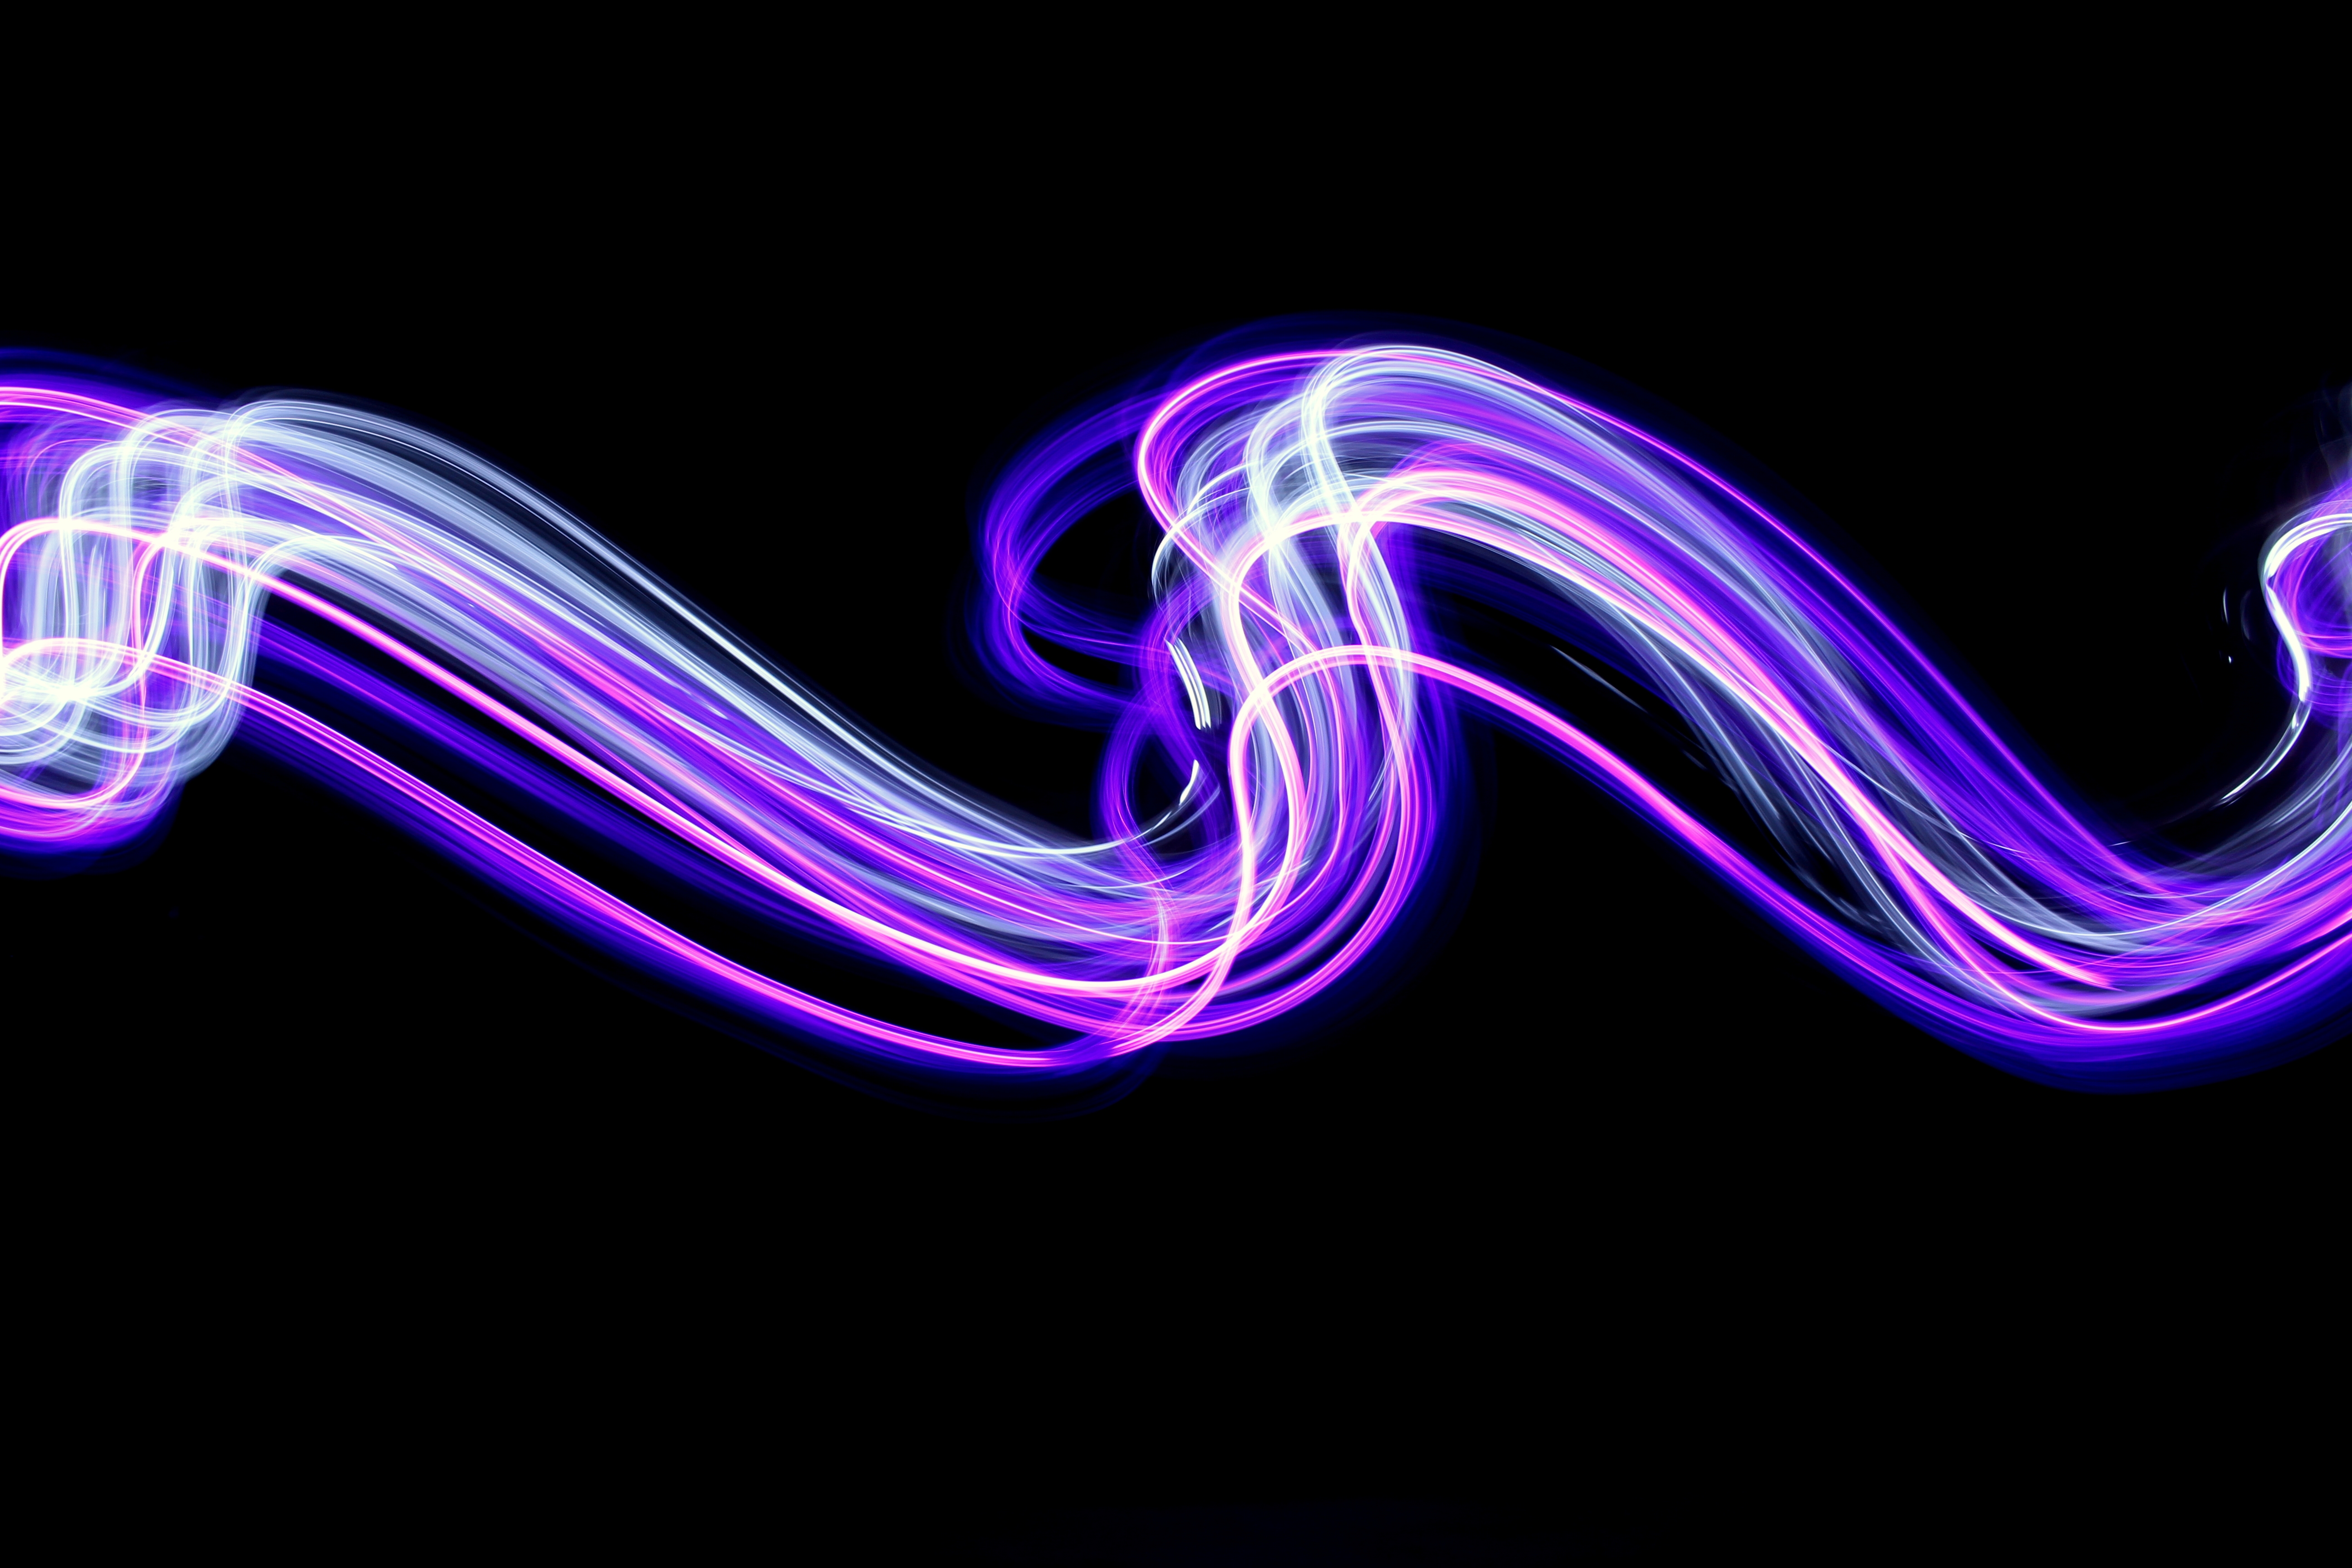
Where kinetic photography is never completely safe as it involves camera movements that could damage the camera, the safest form is conservative kinetic photography. These steps will make it less risky:
- Secure your camera strap to your wrist by wrapping it twice before shaking, twirling, or spinning the camera
- Attach your camera securely to a tripod, shaking or moving it towards your subject
- Have a soft landing spot nearby, just in case
- Use an inexpensive camera if you can!
