
If your yearbook has both colour and black & white pages, you’ve got to be smart about where you put the colour. It’s not just about making things look cool, it’s also about how the printing works, especially if you're using an offset press.
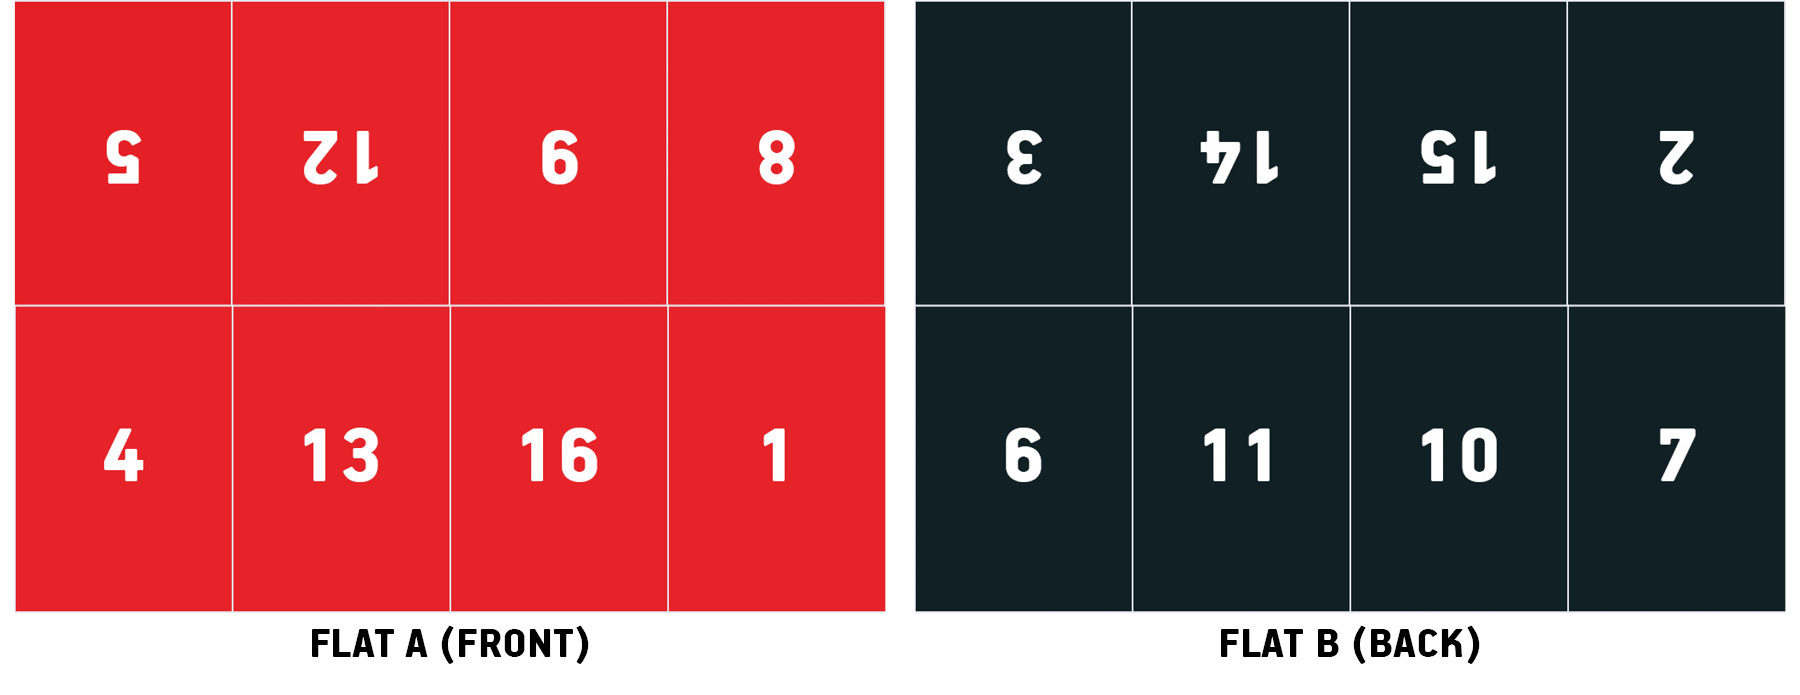
Here’s the deal: colour pages have to be printed on a flat (that’s either the front or back of a printed sheet) or in a full signature (a group of pages printed together). You can’t just toss colour wherever you want.
Colour pages are awesome for showing off big moments, group shots, or anything that deserves extra attention. Just make sure you’re placing them where they’ll actually print in colour. Otherwise, you might end up with a black & white page when you were expecting full colour.
Say you decide to print colour on flat A (the front side). That means every other spread in that signature will be in colour. The rest? Black and white. So, if you want a certain page to pop with colour, make sure it lands on the correct side of the print layout.
Figuring out how to plan which pages are colour and which are black and white isn't complicated! If you know your book is being printed on an offset press, follow these steps (if you don't know, check with your Print Consultant or Project Specialist):
USE YOUR PAGE LADDER
First, use the Page Ladder on Page 9 in the PlanIt Booklet to list our all of your pages. This helps you see where each section lands. Learn more about Page Ladders HERE.
PICK YOUR COLOUR SECTIONS
Choose which spreads deserve colour, like sports, grad, or events. Make sure they fall on the correct flat side or signature.
GROUP COLOUR PAGES TOGETHER
If you want a whole section in colour, plan it to fit within one signature. That way, you can print the entire signature in colour without wasting space.
AVOID RANDOM COLOUR PAGES
Don’t scatter colour pages all over the book. It’s expensive and might not work with the press setup.